Thursdays are extra special for me because it's the time I have to spend an hour or two with teens to talk about Photography. It is so inspiring to see the world from their perspective. So exciting to watch them grow - both technically and artistically in the creation of images using their cameras. I have never left a session without feeling inspired.
My aim for Teen Thursdays is two-fold: first, to showcase their work; and, two, to share what we have discovered in our meetings.
These past few weeks were quite technical. We studied Shutter Speeds, Aperture, Scene Modes and, today, ISO and White Balance. I hope you find these posts informative and inspiring, too!
ISO
ISO is the third piece to the magical three for exposure. It's all about sensitivity to light.
You've prepped the shutter speed to how fast you want to take the image. You've opened your aperture as wide as you want to capture just that much of the image. The image comes out dark, you need more light… what do you do?
You make your sensor more sensitive to it. You let it absorb as much light as you want it to. You increase its ISO.
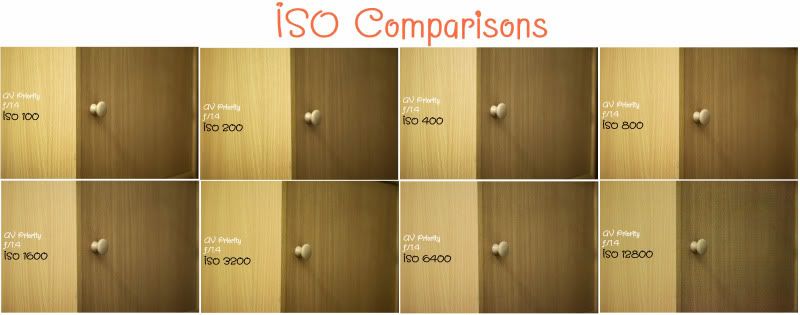
Here's the dilemma, though, the more sensitive it is to light, the more different shades of light it absorbs. The higher the ISO, the higher the chances of recording these wayward bits of light (called grain). The more we have of these bits of light, the less sharp our images are. The contrast also goes bust. The softer the image is - and, though this is sometimes good, it is only good if you intend the image to have that feel. Otherwise, it's just a big soft mess.
So when you decide on your ISO choice, choose with intent and with purpose. If you're outside, best set it as low as you can go: ISO 100 and ISO 200 will work well on different kinds of days. If you're inside in a poorly lit area, try to work with ISO 400 and maybe ISO 800. Be very careful and aware - and I will repeat myself - of grain. Intend to have it or be forgiving about it.
White Balance
White Balance is sometimes known as the fourth bit of the magical three.
As much as it doesn't have anything to do with the amount of light you record, it is an important component in terms of the color of the light you record.
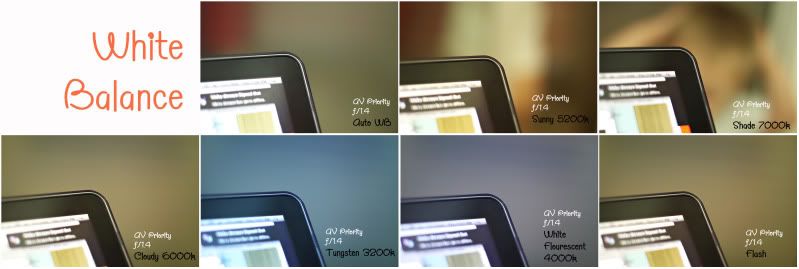
You can try the lower temperature settings for "cooler" (also known as blue-r) images. Tungsten at 3200k and Fluorescent at 4000k will do the trick for you.
You can up the temperature for "warmer" (also known as more orange-y) images. Shade at 7000k, Cloudy at 6000 and Sunny at 5200 will help you get that warm look.
And that's about all that it is, basically. And I do mean: basically. No frills. No big words. No complicated technicalities.
I hope this helps some of these talented teens review their lessons learned today… and if some beginner somewhere finds this helpful, too, then it just doubles the pleasure in sharing the knowledge.
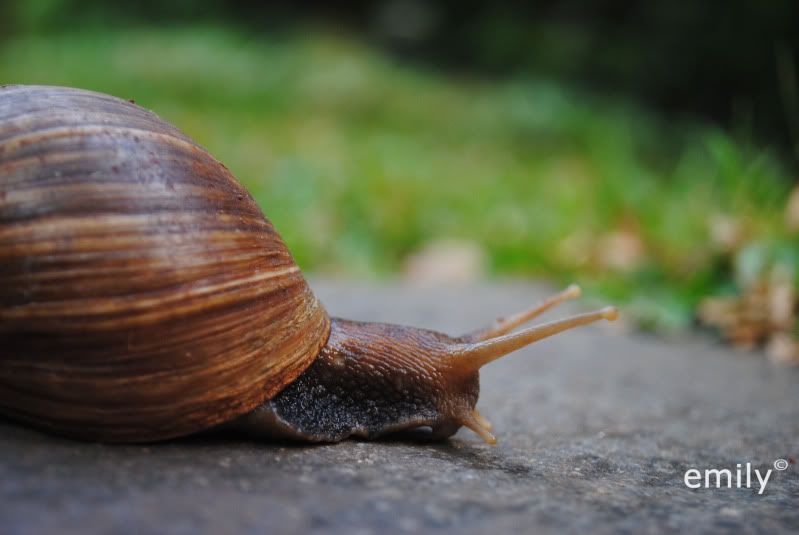
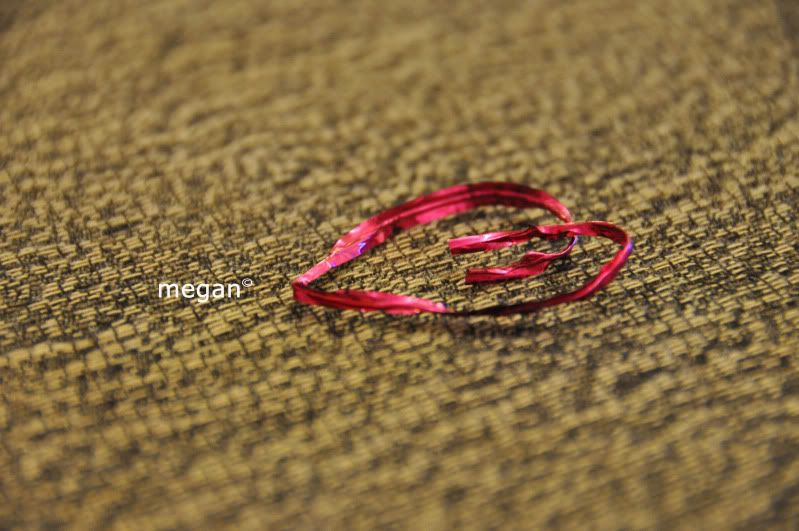
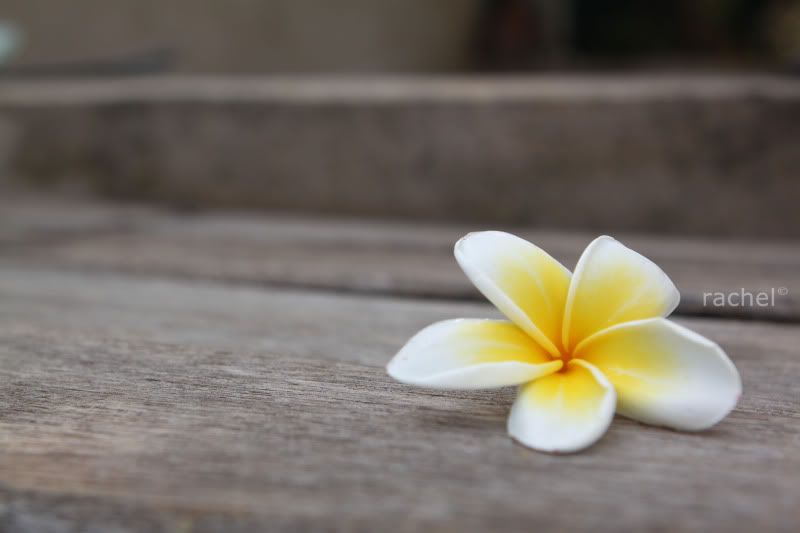
Now, for a showcase of real sweet images created by real talented teens.
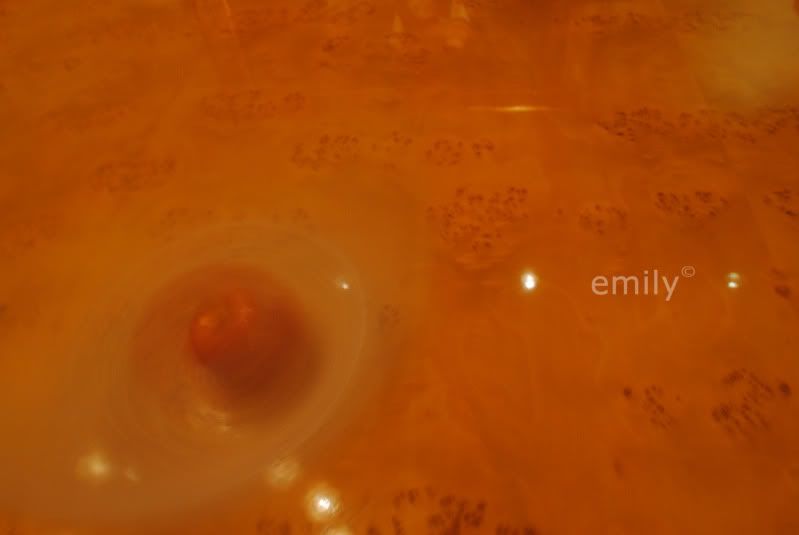
(Slow Shutter Speed)
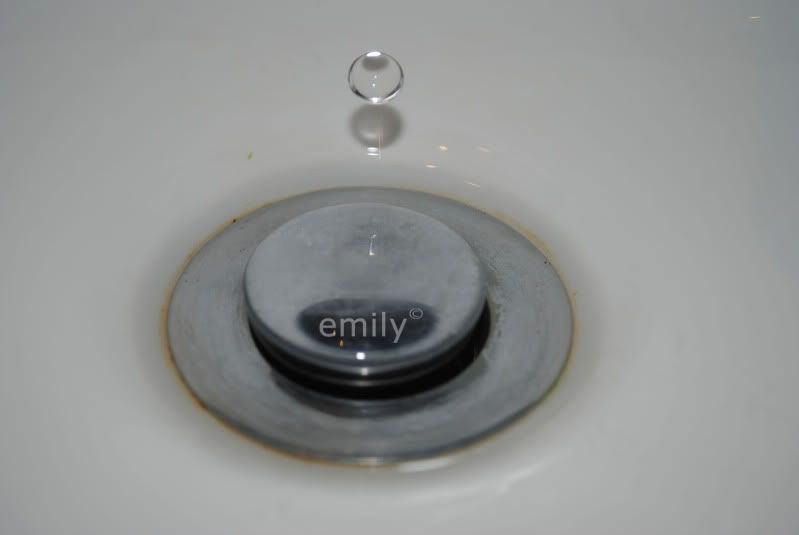
(Fast Shutter Speed)
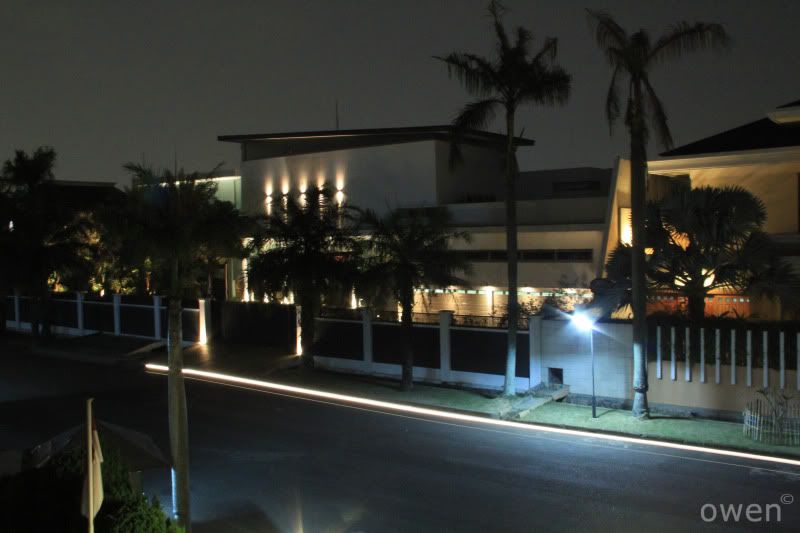
(Night Shot)
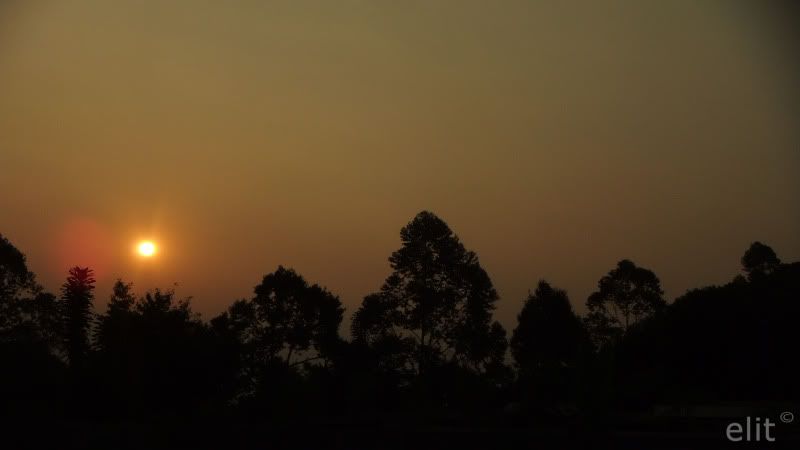
(Landscape)
(Aperture - Shallow Depth of Field)
Worth the click:
Manual Photography Cheat Sheet (lovely work by another Filipino, Mig.)
See you next Thursday for another tutorial! Happy clicking!


No comments:
Post a Comment